Metadata brings tracking and managing data closer to your DataOps.
Whether it’s the API, bucket, path, ingest time, or any of the other stats captured by Nexla; using the setup shown in this tutorial you’ll be able to pull out that attribute and add it to the dataset and to the output filename.
Capturing Source Metadata
1. Add your Source
Follow the first steps of connecting a data source. Once Nexla has detected and created a Nexset, click on the transform button.
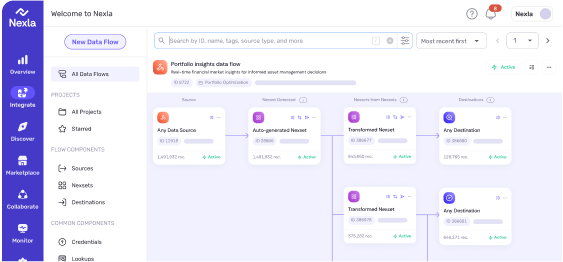
Transforming Detected Nexset
2. Capture the Source Metadata in the Nexset
In the transform screen, click Create New Attribute in the middle and set it equal to Metadata. Then, select from the captured metadata using the dropdown to the right. In this example, Ingest Time, Source Path, the S3 Source Bucket, and Source Offset are available. Any metadata available from the source can be captured in the Nexset. Give your attribute a name and click Add to Draft.
Creating New Metadata Attribute
Don’t forget to Activate This Dataset on the next screen and give it a name if required.
Writing Metadata Out to Filenames
1. Sending to Destination
Click Send to Destination on the derived nexset and choose your output destination. Add your credentials or select an existing one, and click Next to configure the filenames.
Sending to Destination
2. Writing Metadata to the Destination Filenames
Select the output file type you’d like under Data Format. Select Set Custom File Name Prefix, then type a left curly bracket ‘{‘. Scroll down or start typing the metadata attribute name in the Nexset and select it to add that variable to all your output filenames. Any metadata can be configured to the output filename, but you must first add it to the Nexset as described above. You can add as many constant or variable prefixes here as you’d prefer. Click Save and then Activate This Destination.
Configuring Output Filenames
Conclusion
That’s it! Each of your output files will immediately start flowing to your destination and the filename will contain the metadata prefix configured in the destination. Nexla will continue to monitor this flow and notify you of any changes or errors.
Interested in trying it out for yourself or learning more? Contact us to start your free trial today.
MCP Security That Uses Your Identity, Your Credentials, and Your Policies
As AI agents reach into enterprise systems, the question is not whether they can connect, but whether they do it without bypassing your security controls. Here is how Nexla keeps MCP access tied to each user’s identity and credentials, and lets your systems keep enforcing their own policies.
MCP Tool Bench is a controlled way to benchmark MCP server design. We put Nexla’s task-specific MCP servers against off-the-shelf ones on real BigQuery tasks, in two harnesses, and measured the agent effort each demanded.